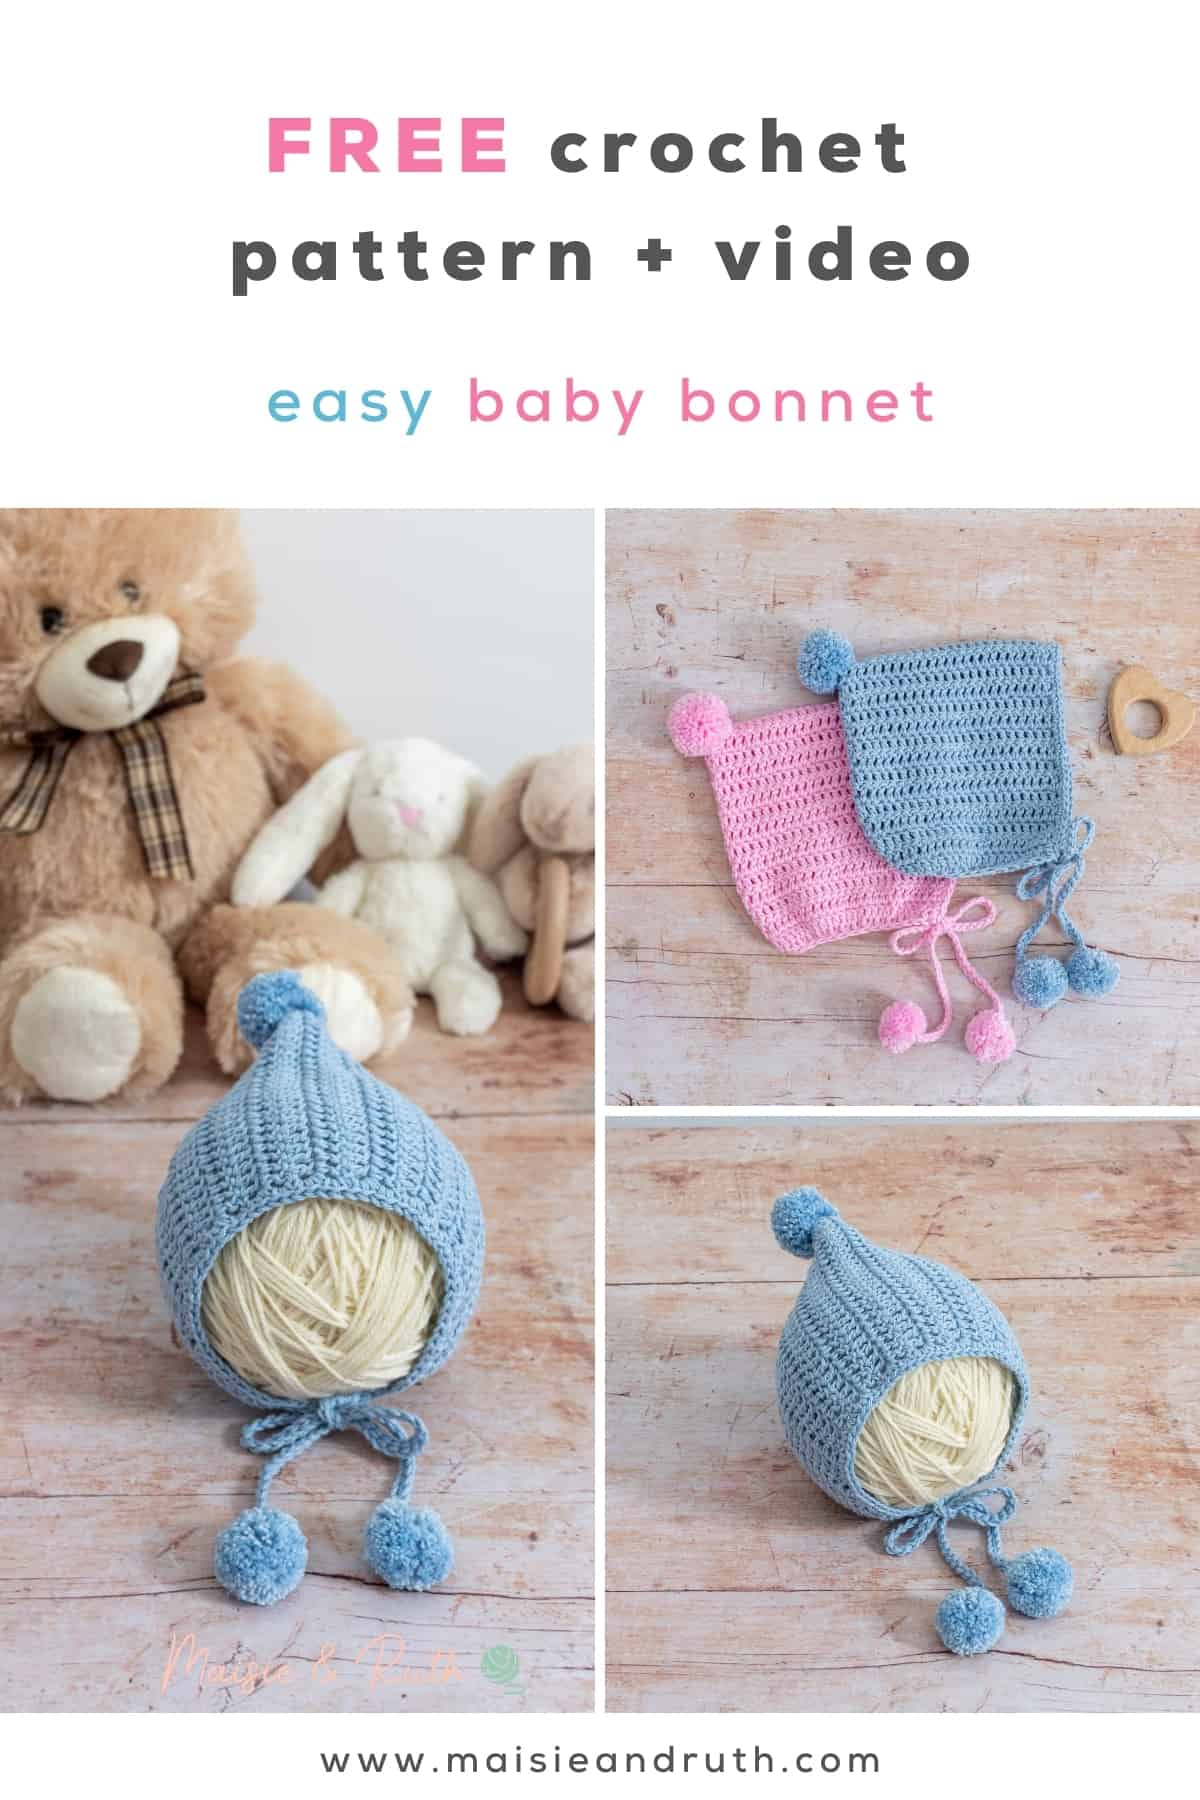
How to Crochet a Easy Bonnet for a Newborn Girl
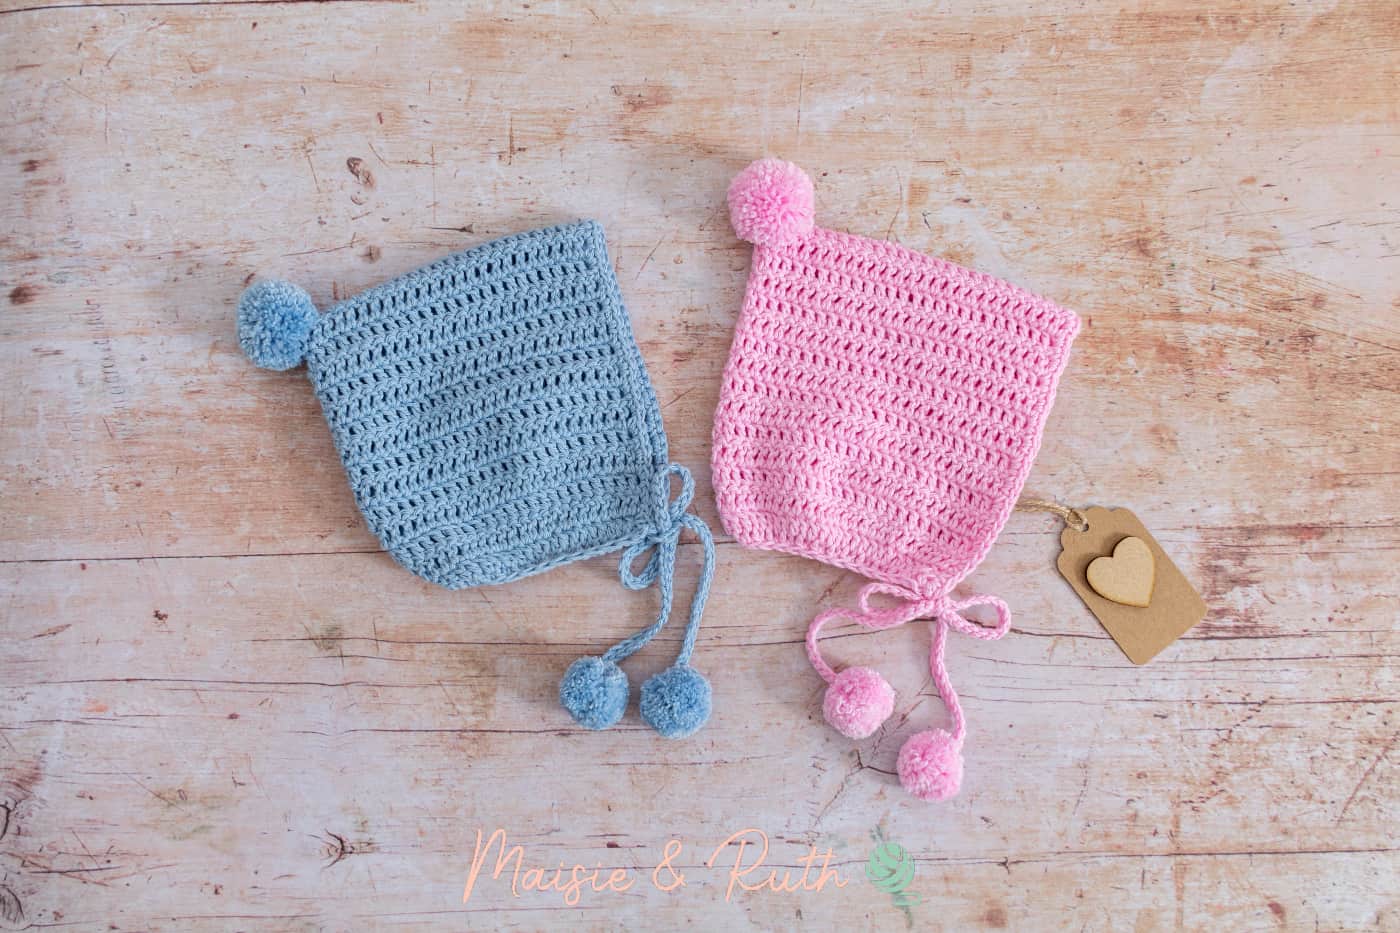
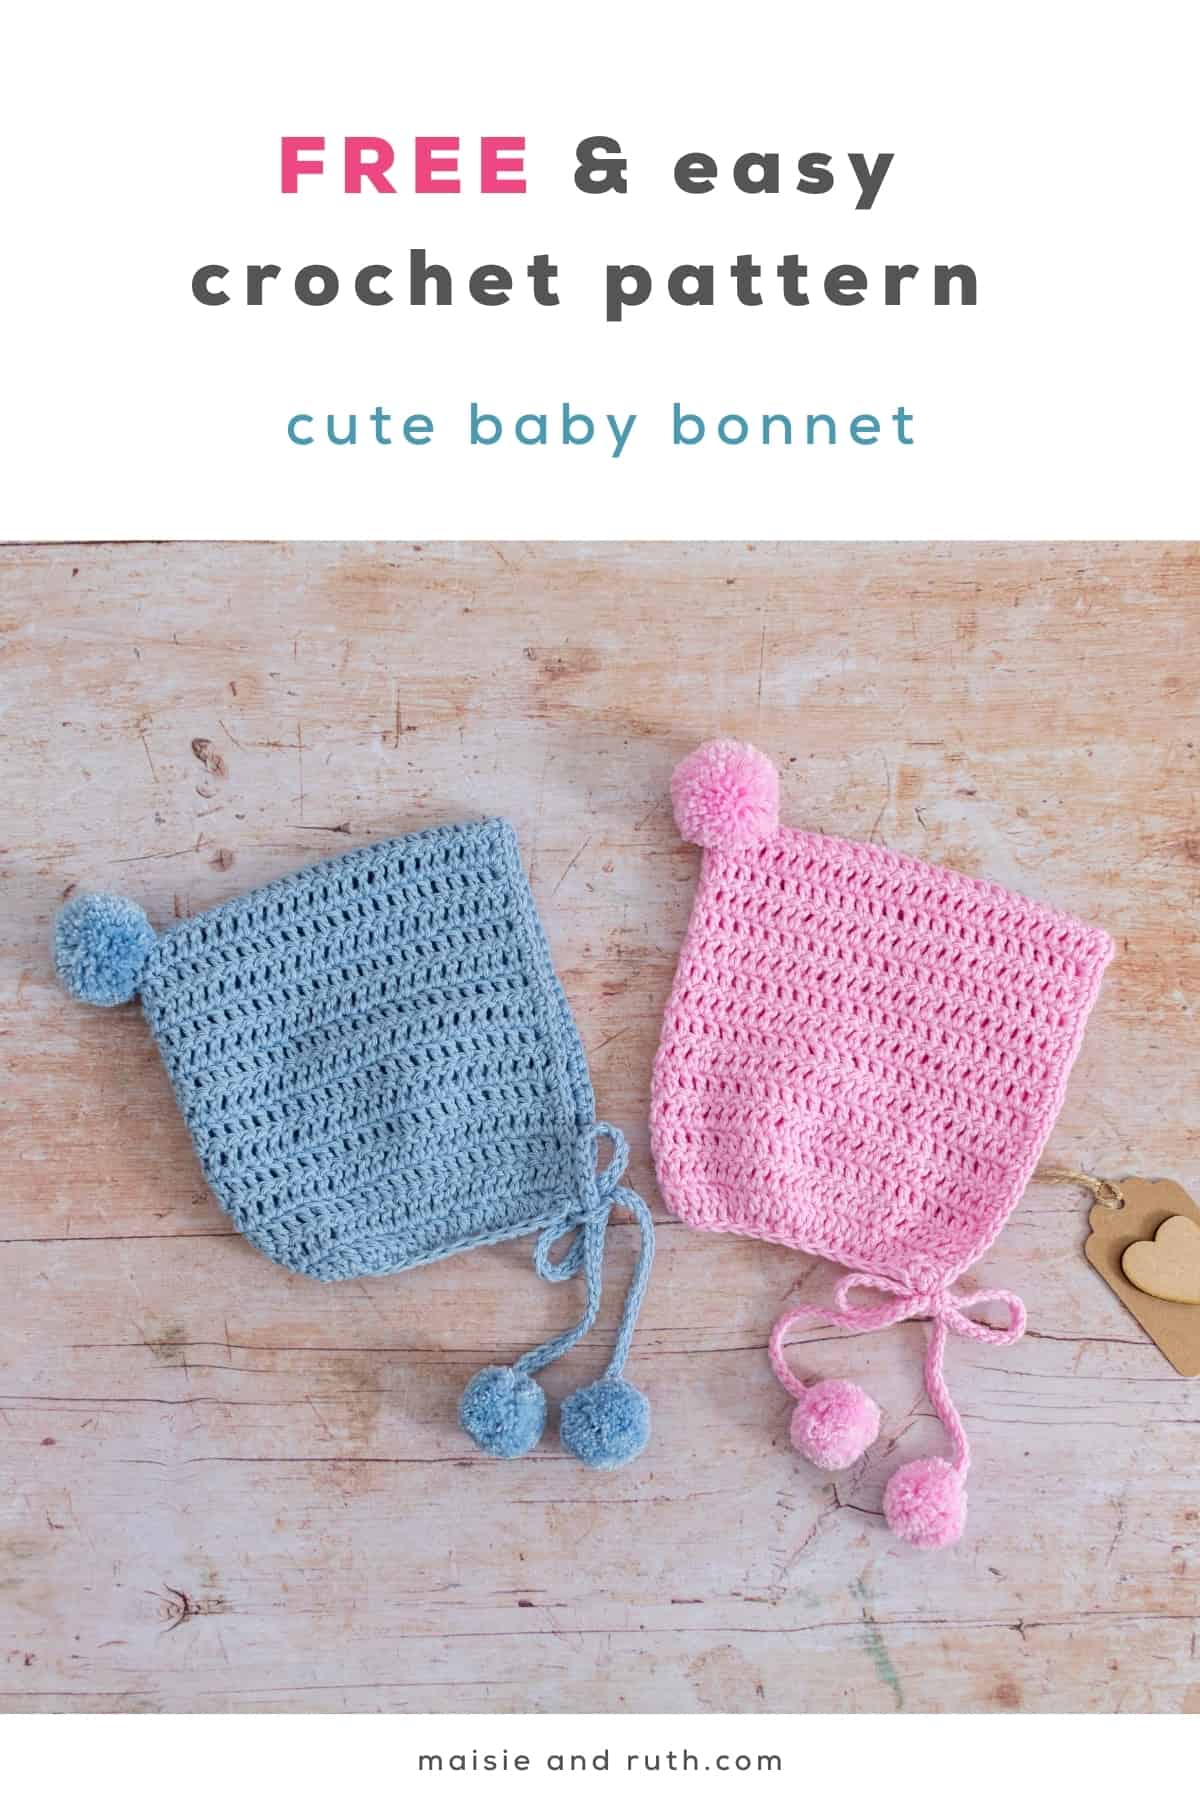
This sweet pixie hat is such an easy crochet baby bonnet pattern – you just need to know some basic crochet stitches and you're all set to go!
The FREE crochet pattern also comes with a VIDEO tutorial… just scroll down to view it.
CUSTOMISABLE FOR ANY AGE
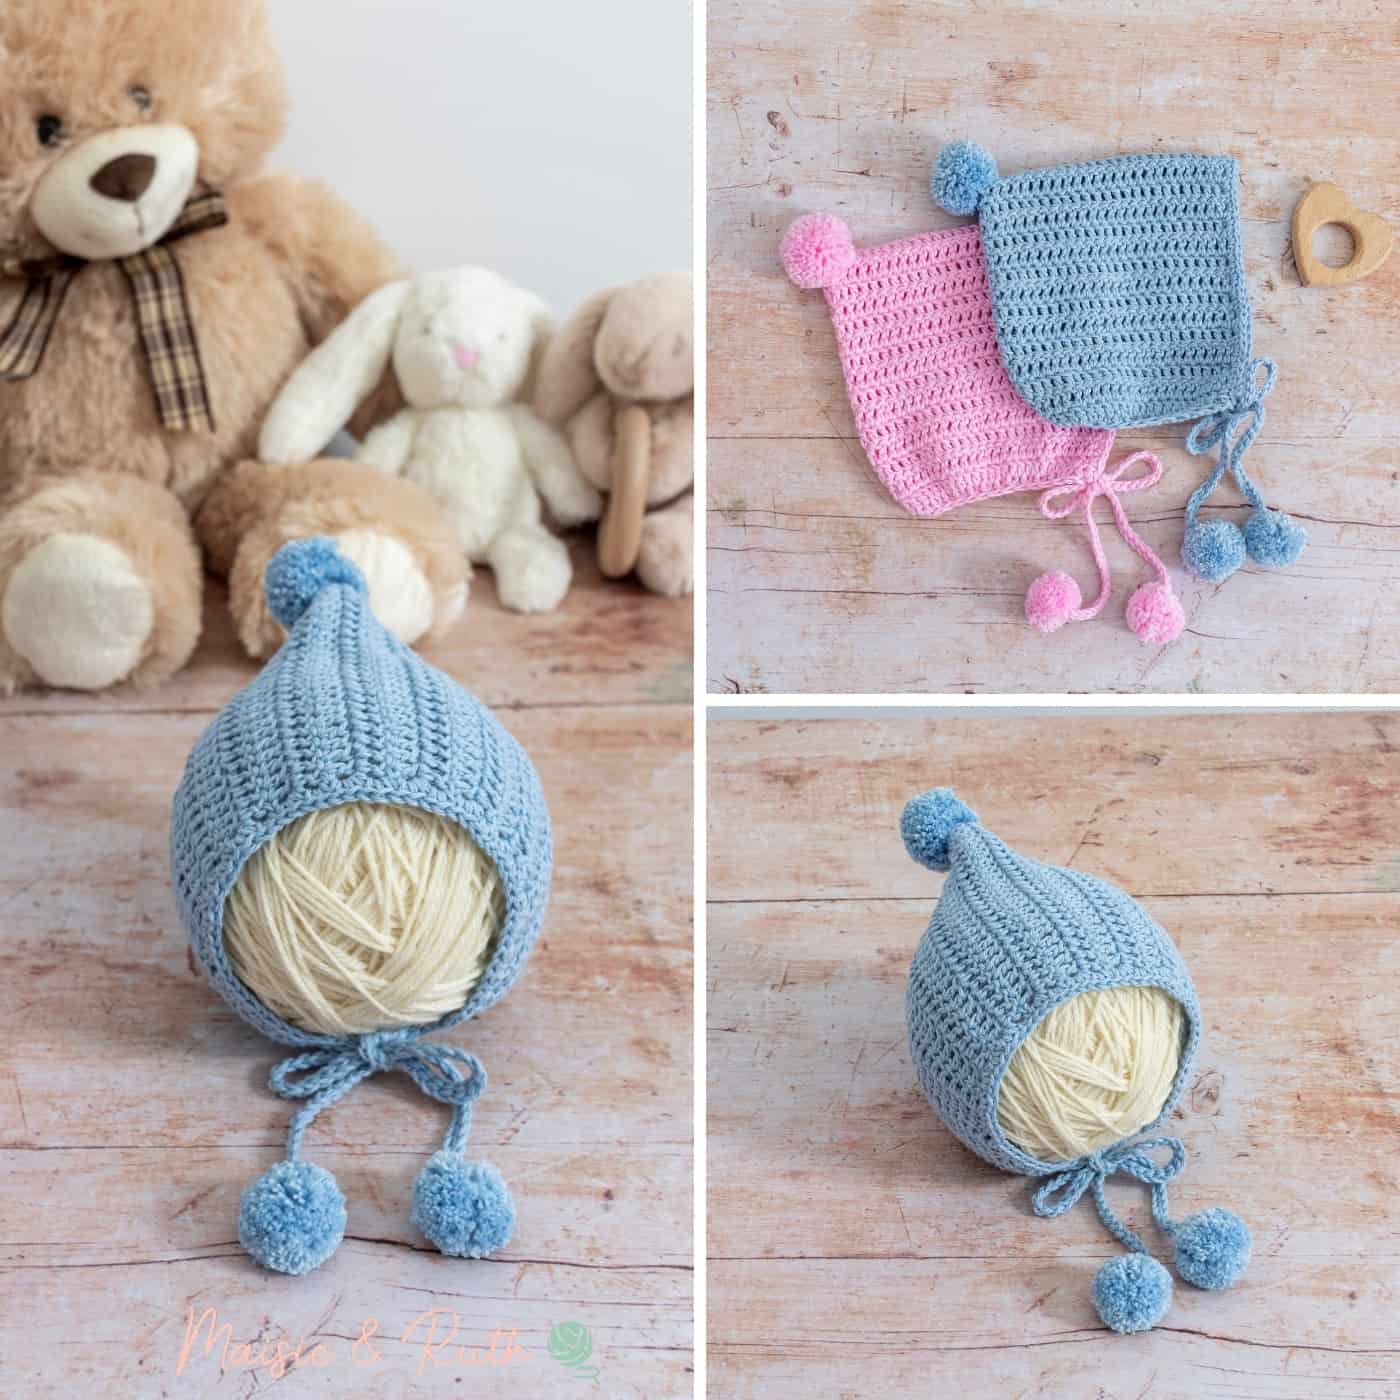
The design of the hat is so simple… you just crochet a rectangle, fold it over in half and then join the back with a slip stitch seam.
The pattern below is for a newborn baby but the size can be customised for any age.
The table below shows you some typical bonnet measurements for babies and toddlers up to 2 years of age:
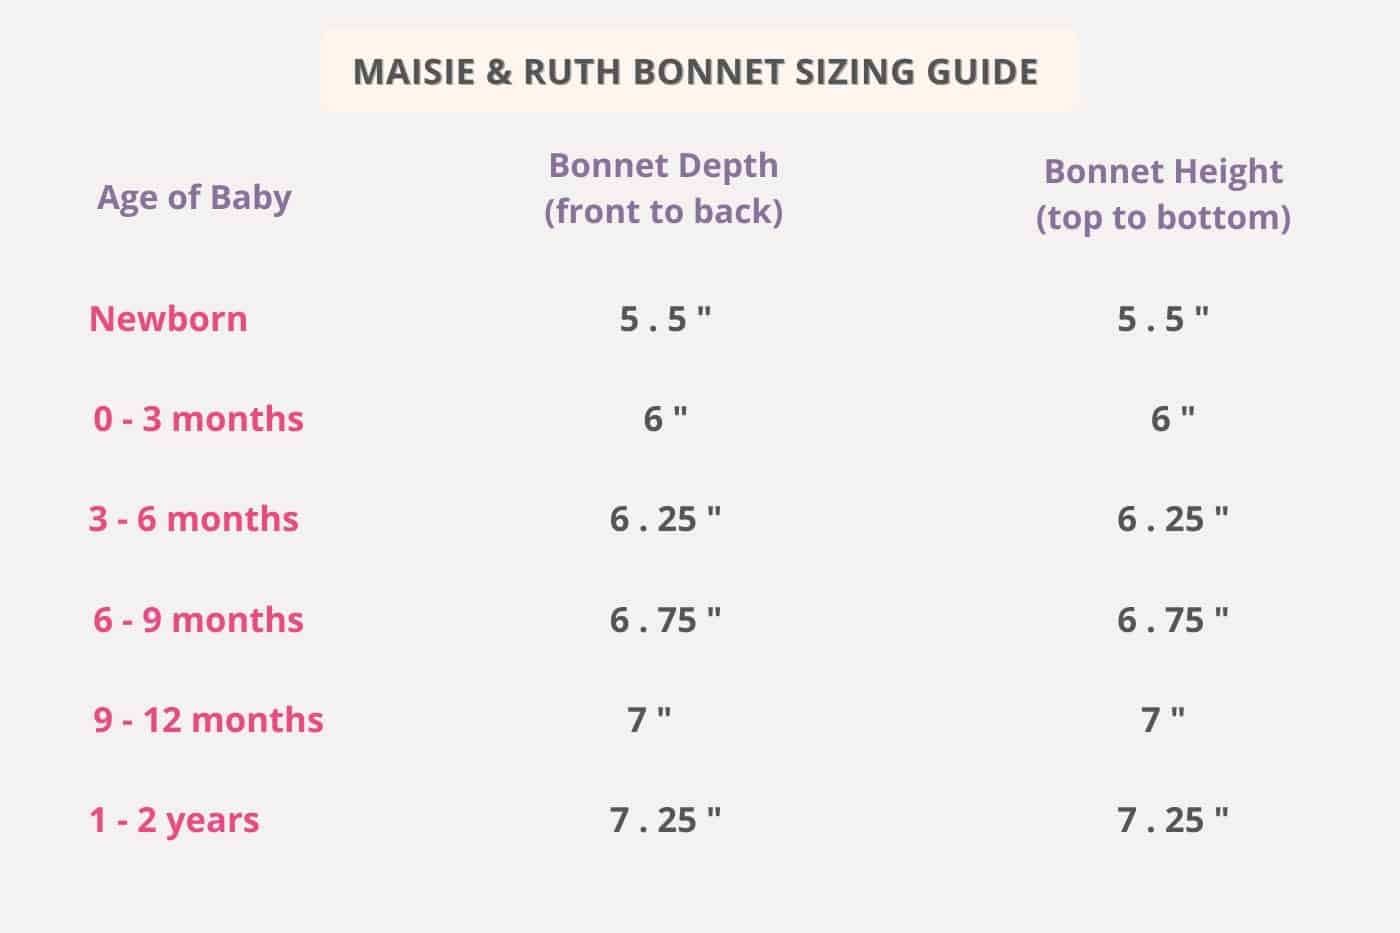
EXAMPLE: If you would like to make the bonnet for a 6 month old baby, start with a foundation chain that measures 6.75″ and then work until your piece measures 13.5″ (you will fold your rectangle in half to give you the height measurement of 6.75″).
Whatever size you decide to make, make sure that you finish at the end of a right side row.
I decided to add a pom pom to the peak of the hat and one pom pom to the bottom of each tie but this is optional… your pixie bonnet will look super cute without them added.
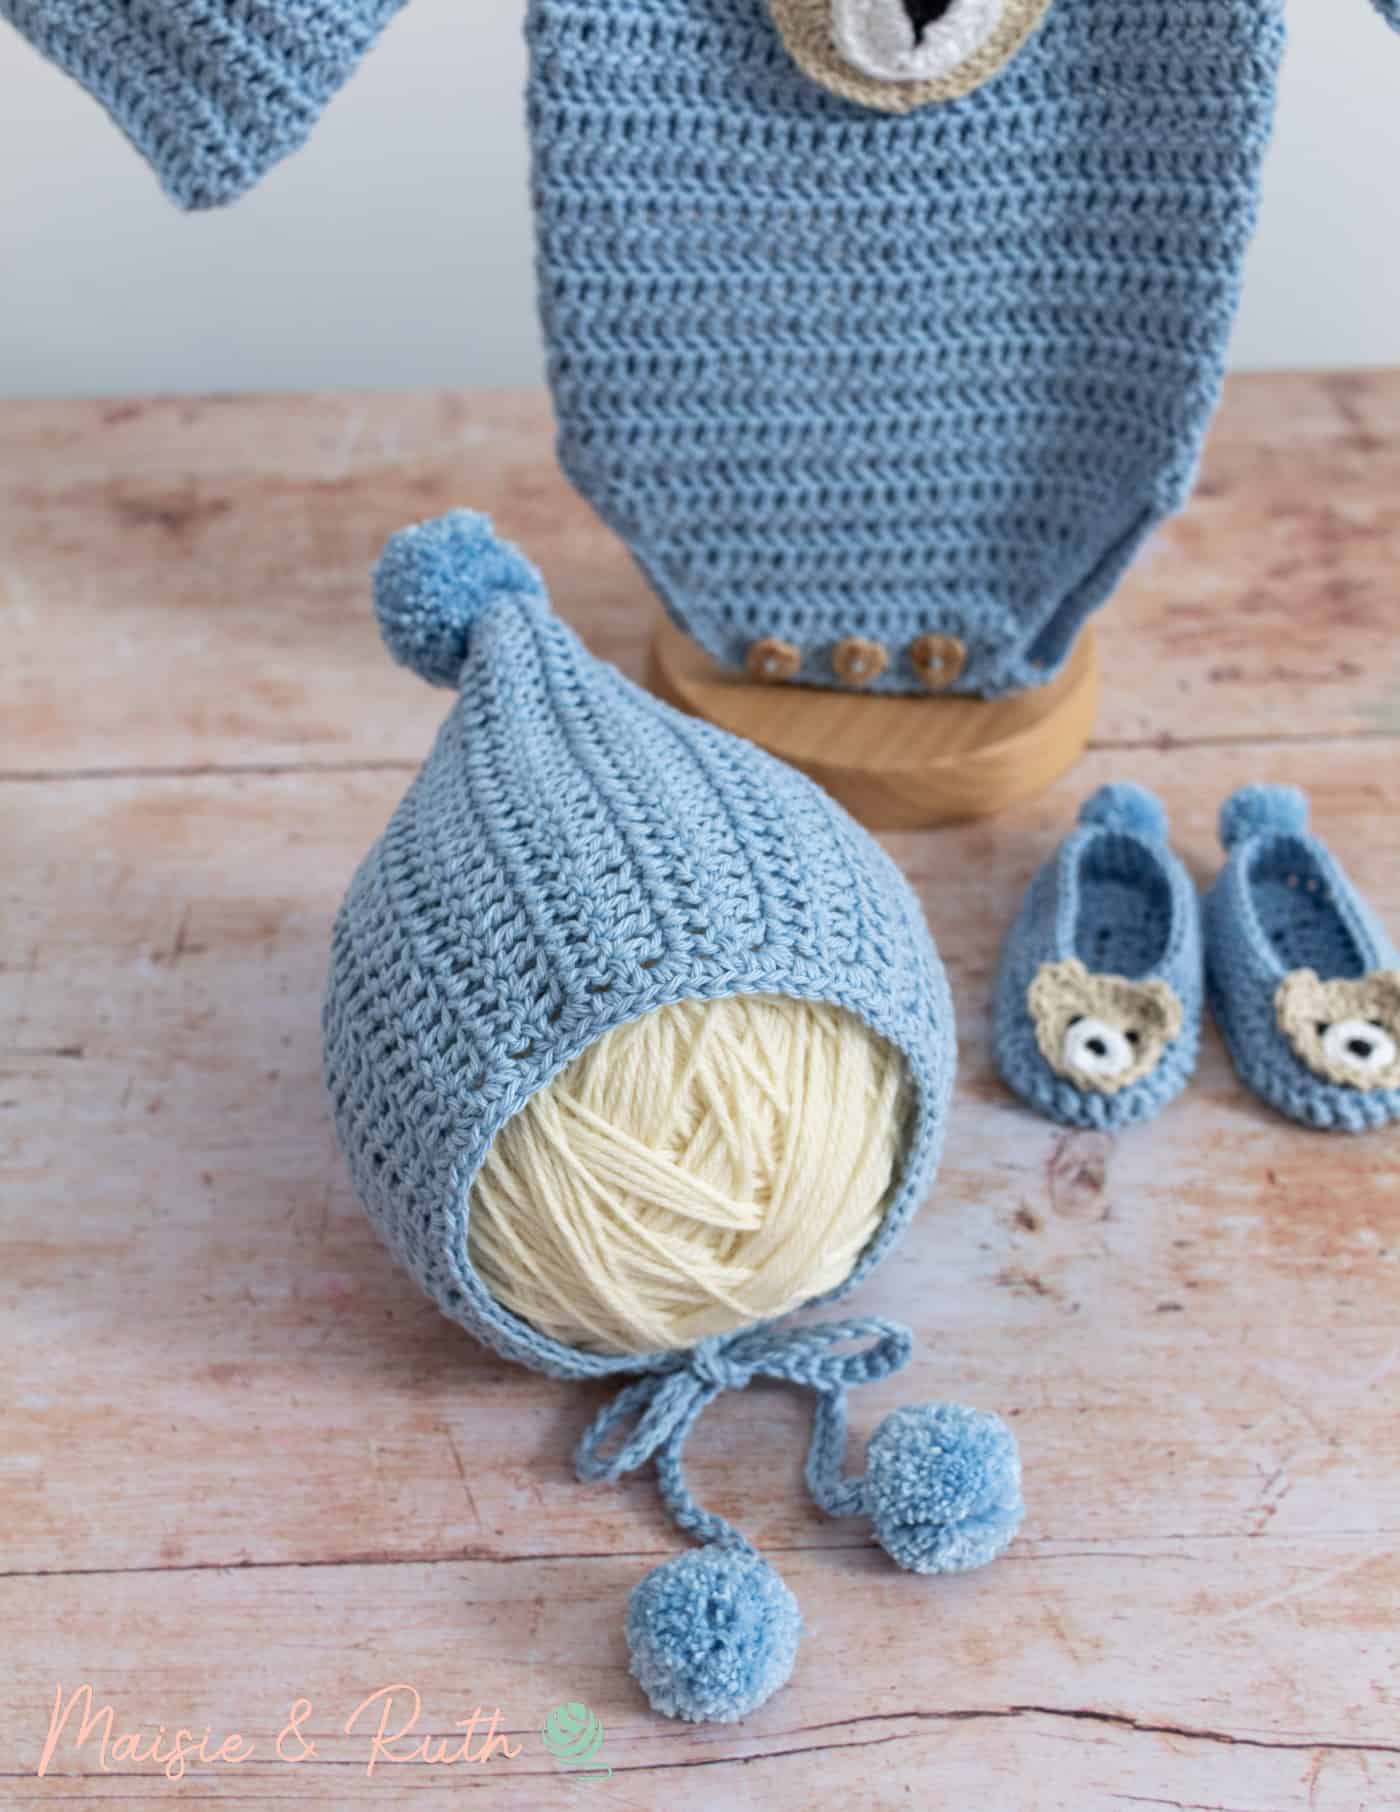
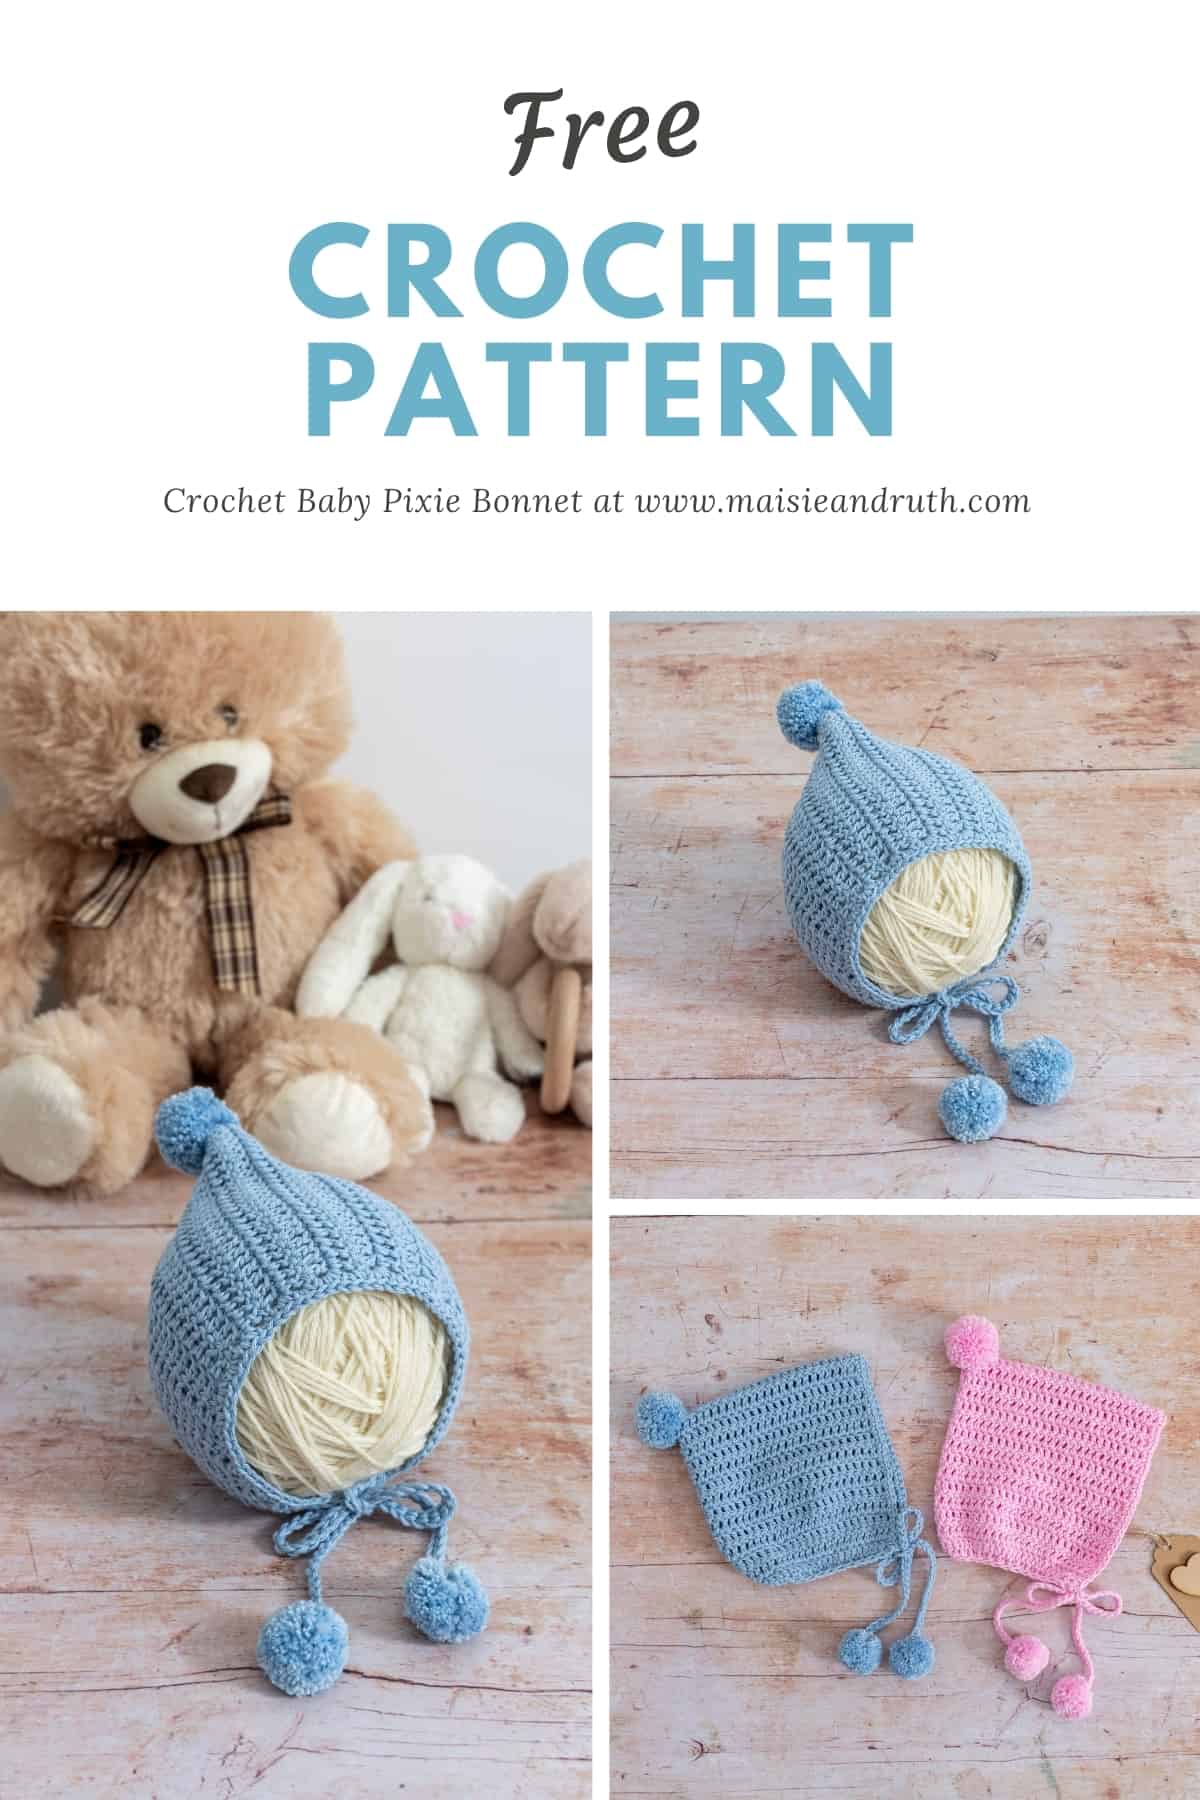
ADORABLE BABY SET
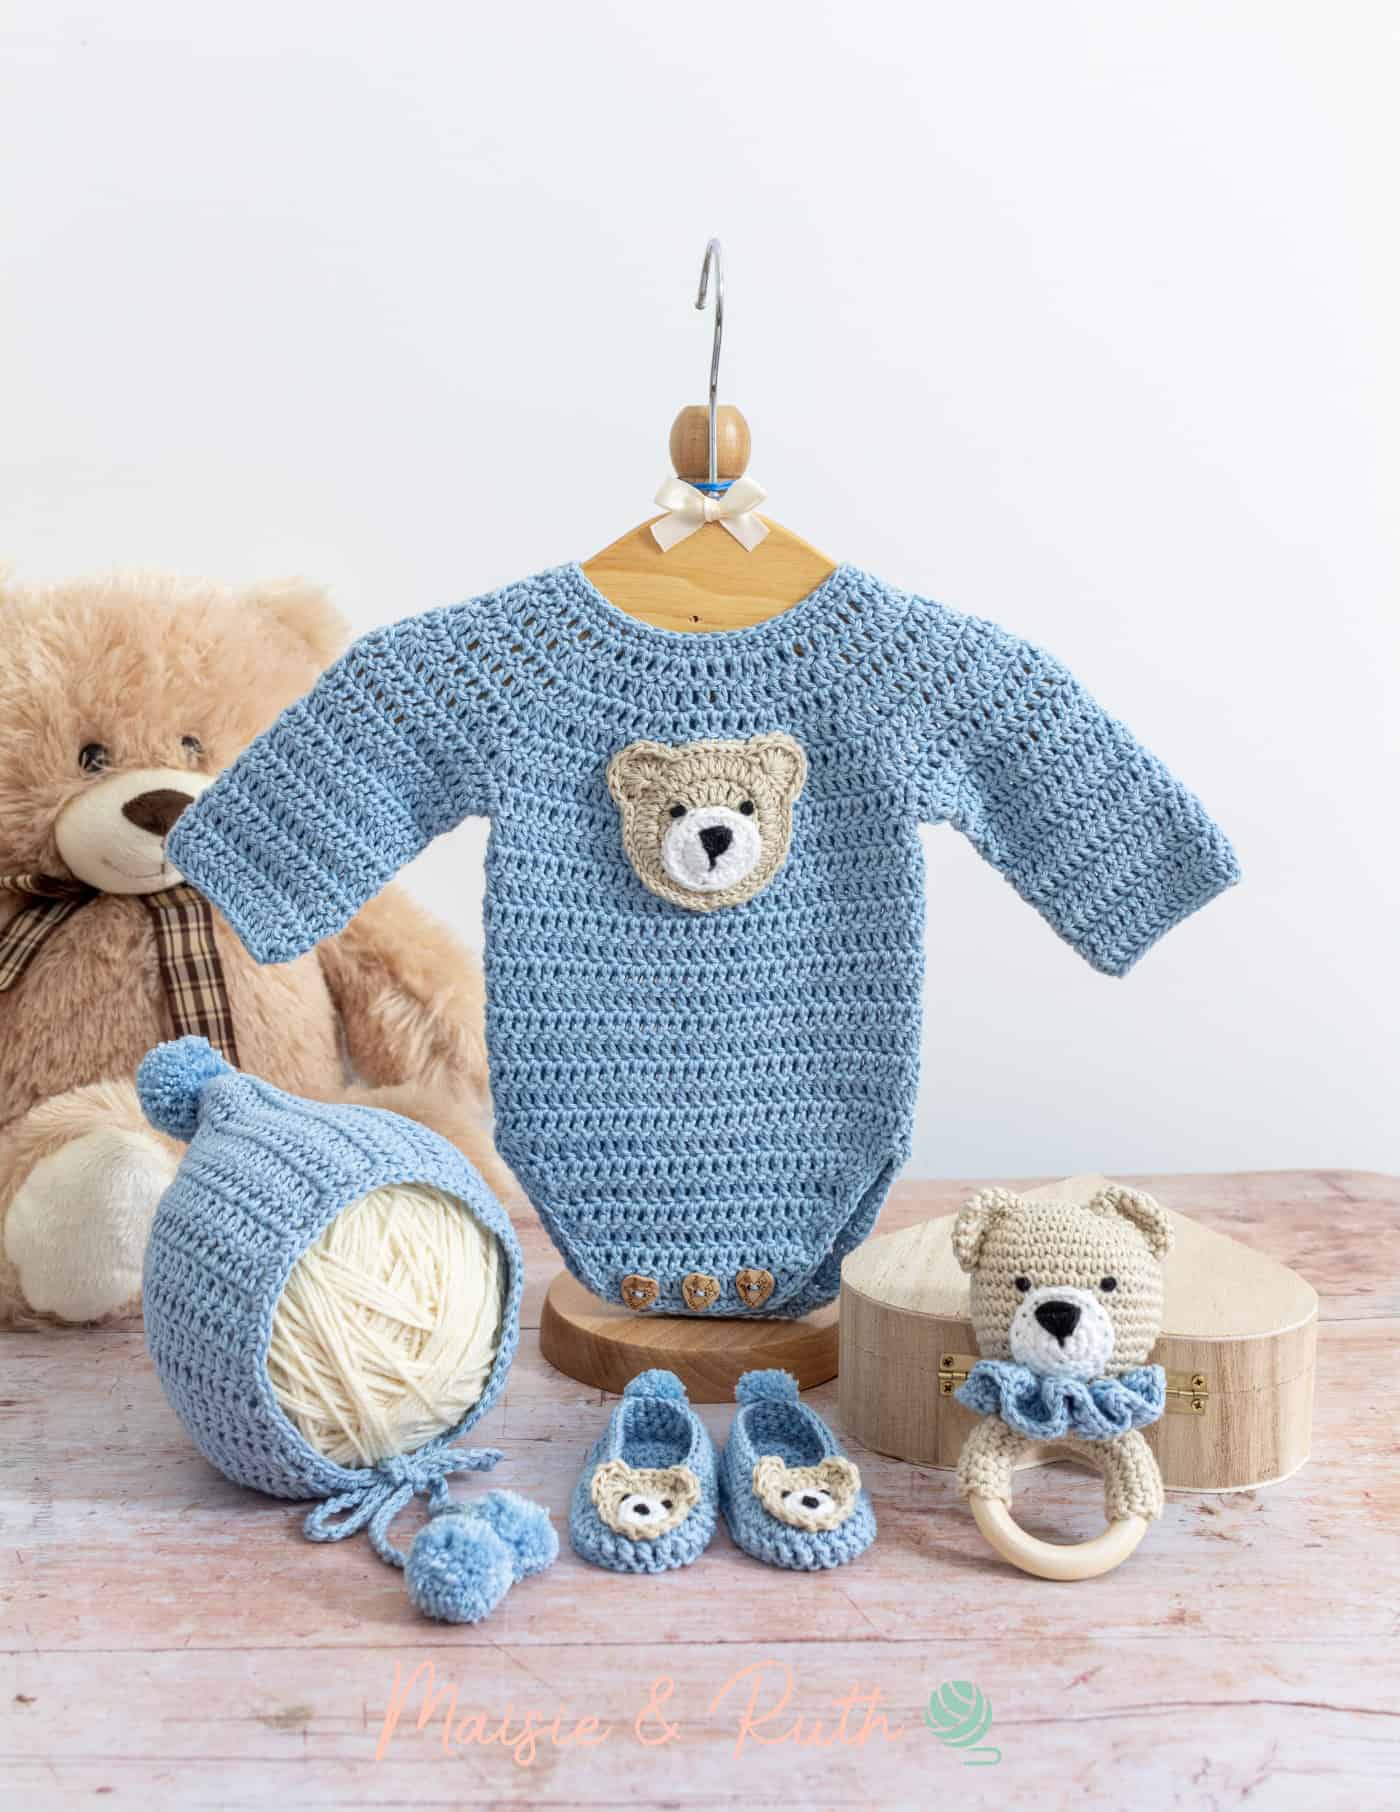
This pixie bonnet is part of a little baby set.
There's a cute little bear onesie, sweet baby shoes, an adorable bear rattle and a gorgeous matching baby blanket.
All these patterns are quick and easy to make and if you need further guidance, video tutorials are also included.
YARN USED
For this bonnet I used Hobbii's Rainbow Cotton 8/4, which is a 100% cotton yarn.
Although advertised on their website as a #1 superfine yarn, I consider it to be more like a #2 sport / 4 ply
yarn.
For a cotton yarn, it's extremely soft and it's so easy to work with.
There's no splitting and the stitches work up evenly, with wonderful stitch definiton.
And when it comes to colours… the sky's the limit! There are SO MANY beautiful shades to choose from. So whether you want a delicate pastel shade or a bold, bright jewel colour, you'll not be disappointed will the extensive range of colours on offer!
It's also worthwhile pointing out that this yarn is OEKO-TEX® certified, meaning that it's a safe choice for baby items. You can find out more about what this means here
Ready? Let's get started!
EASY CROCHET BABY BONNET PATTERN
This post for an easy crochet baby bonnet pattern may contain affiliate links, which means I'll receive a commission if you purchase through my links, at no extra cost to you. Please read full disclosure for more information.
LEVEL
Easy (see details of project levels at the Craft Yarn Council).
SUPPLIES
- Yarn: Category #2 (fine) / sport / 4 ply yarn. I skein of Hobbii Rainbow Cotton 8/4,186yds / 1.75oz (170m / 50g) in the colour Baby Blue (032).
- Crochet Hook: E (3.5mm) (these hooks are fabulous – the yarn just glides off them!)
- Yarn needle (the bent tip makes sewing and weaving in ends much easier)
- Scissors (super sharp… and pretty)
- Pom pom maker (this one is really simple to use!)
GAUGE / TENSION
18 stitches & 11 rows = 4″ in double crochet
In order to achieve the correct size and fit , it is important to test your gauge with a sample square before you begin.
If your tension is tight (too many stitches to 4″), try using a larger hook.
If your tension is loose (fewer stitches to 4″), use a smaller hook.
FINISHED SIZE
NEWBORN:
5.5″ X 5.5″ (14 x 14 cm) approx.
STITCHES AND ABBREVIATIONS (US CROCHET TERMS)
ch(s) – chain(s)
dc – double crochet: Yarn over (yo), insert hook into stitch, yo, pull up a loop (3 loops on hook). Yo, pull through 2 loops (2 loops on hook). Yo, pull through remaining 2 loops. 1 double crochet completed.
fasten off – To fasten off securely, work one chain, then cut the yarn leaving a 5 – 6" tail. Pull the tail through the loop that is on your hook. Tighten gently.
RS – right side: The side of your work that you want to have on display – the 'pretty' side.
sc – single crochet: Insert hook into stitch, yarn over (yo), pull up a loop (2 loops on hook). Yo, pull through both loops on hook. 1 single crochet completed.
sc2tog – single crochet two together: Insert your hook into stitch, yarn over (yo) pull up a loop (2 loops on your hook). Insert your hook into the following stitch, yo, pull up a loop (3 loops on your hook). Yarn over, pull through all 3 loops. One sc2tog complete.
sl st – slip stitch: Insert hook into stitch, yarn over (yo), pull up a loop, you will have 2 loops on your hook. Pull the first loop through the second loop. 1 slip stitch completed.
st(s) – stitch(es)
Turn: Turn your work clockwise or anti-clockwise. It doesn't matter as long as you are consistent for a neater edge.
WS – wrong side: The back / inside of your crochet piece.
[ ] – The total number of stitches at the end of a row.
USEFUL TUTORIALS
- Crochet Turning Chain (Does it Count as a Stitch?)
PATTERN NOTES
- The length of the foundation chain will determine the measurement of the bonnet from front to back.
- You will then work the required number of rows as indicated by the pattern to determine the height of your hat (when folded over in half).
- The ch2 counts as the first stitch of the row. Therefore, you should make the first stitch of the row in the next st.
- At the end of rows, make sure that you work your last stitch into the top of the ch2.
- For the ties of the bonnet I chained 42, however feel free to adjust this number if you would like longer or shorter ties.
PATTERN INSTRUCTIONS
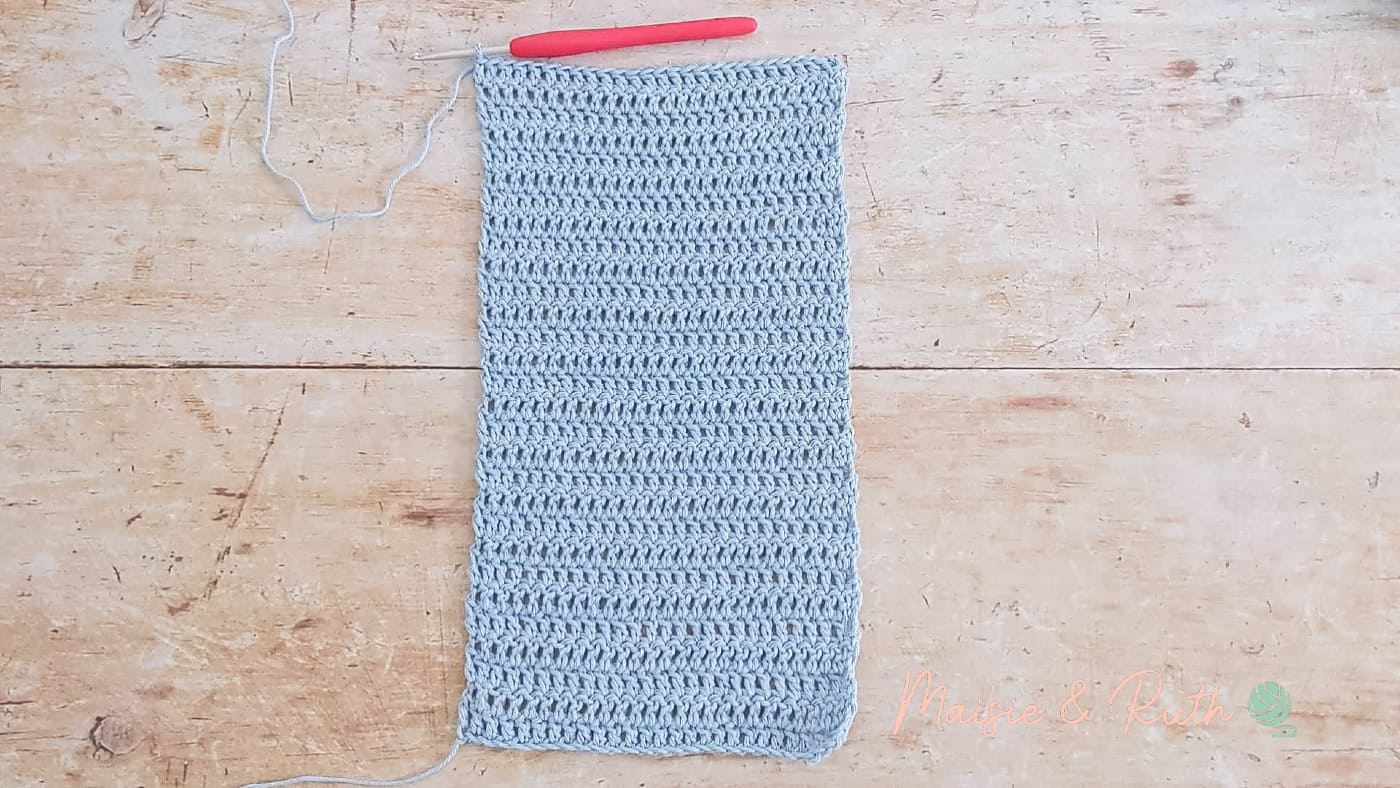
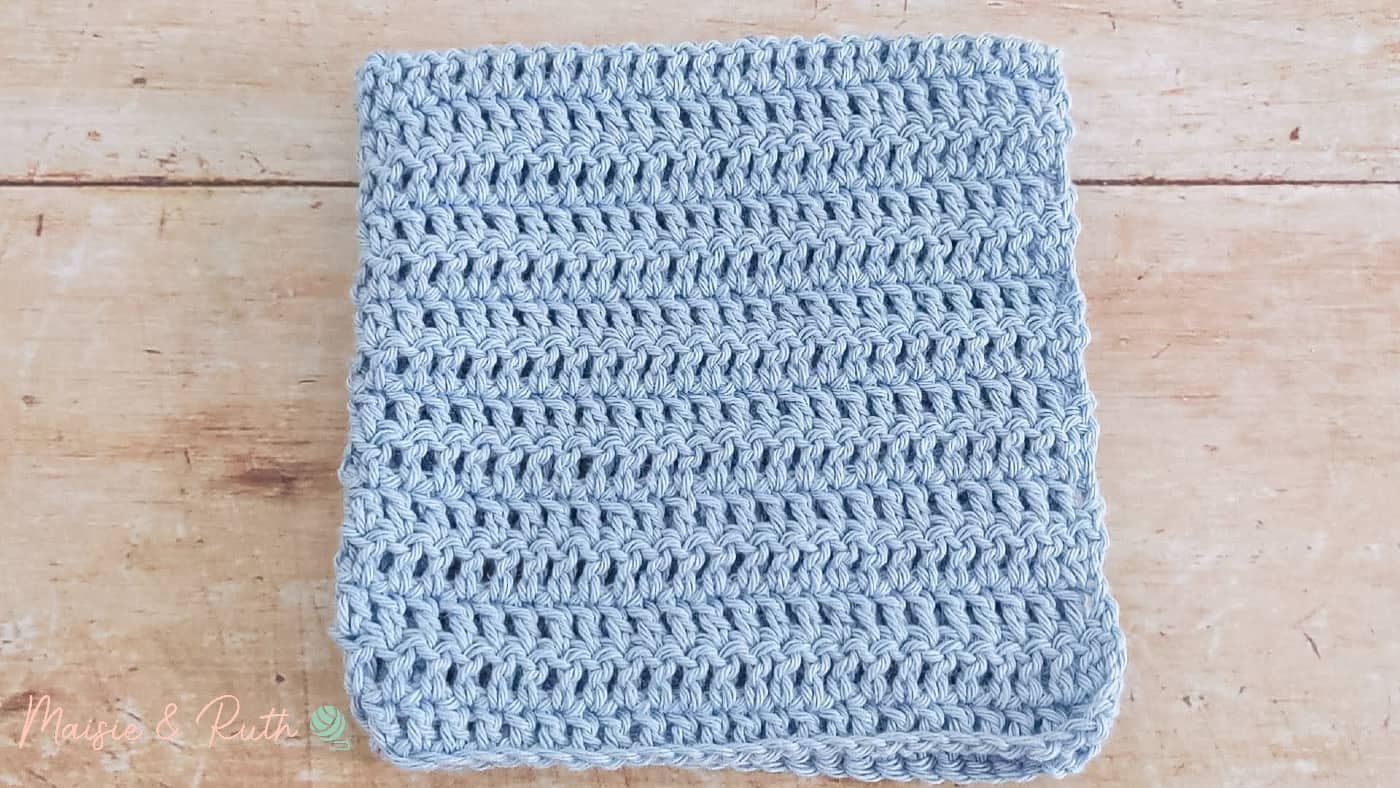
MAIN BODY OF BONNET
Ch29
Row 1. 1dc in the 4th ch from the hook, 1 dc in each ch to end, TURN [27 sts].
Row 2. Ch2 (counts as your first dc), 1dc in next 26 sts, TURN [27 sts].
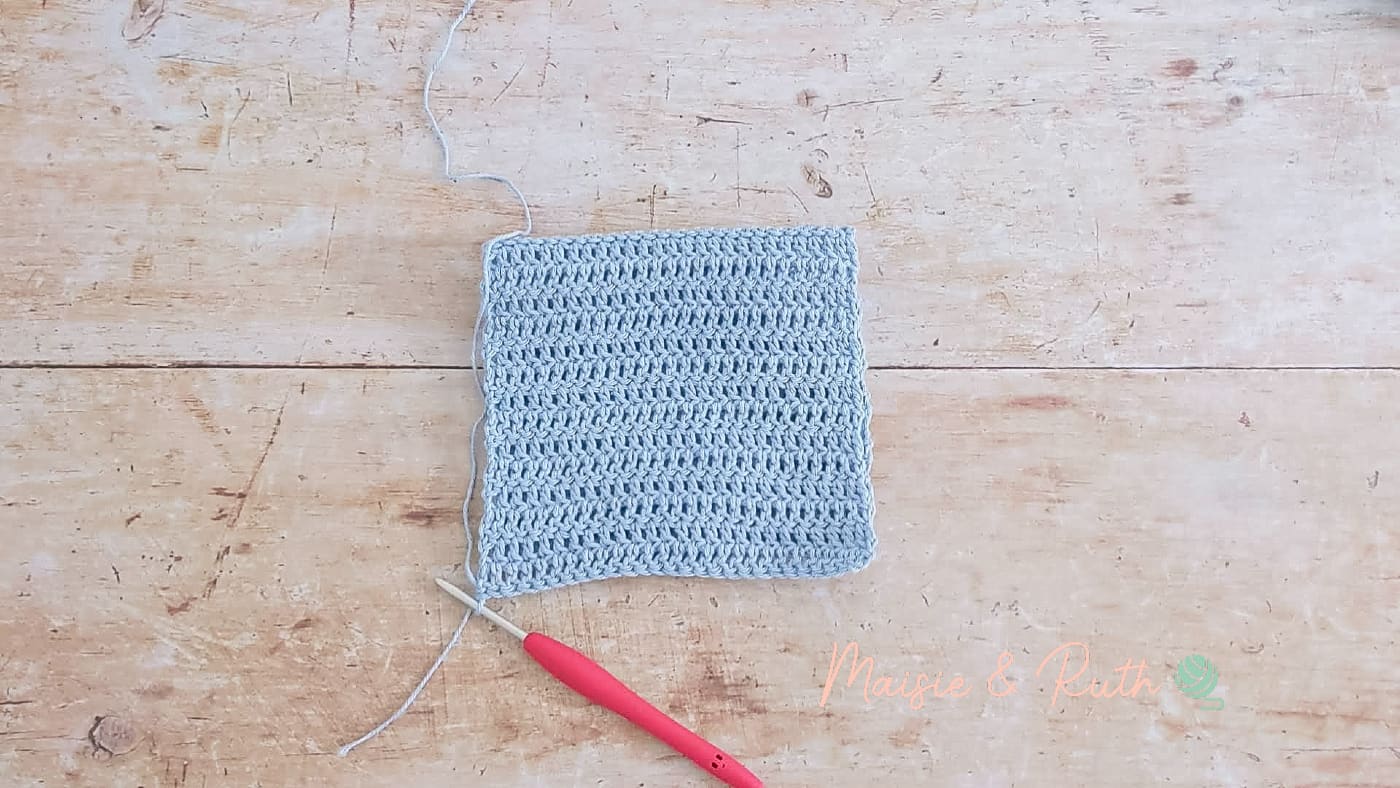
Repeat row 2 until you have a total of 29 rows.
JOINING THE BONNET
Once you have completed row 29, with your hook and yarn still attached to your work, fold your rectangle over so that the wrong side is now facing out:
Join the two edges with a slip stitch seam (this will form the back of your bonnet):
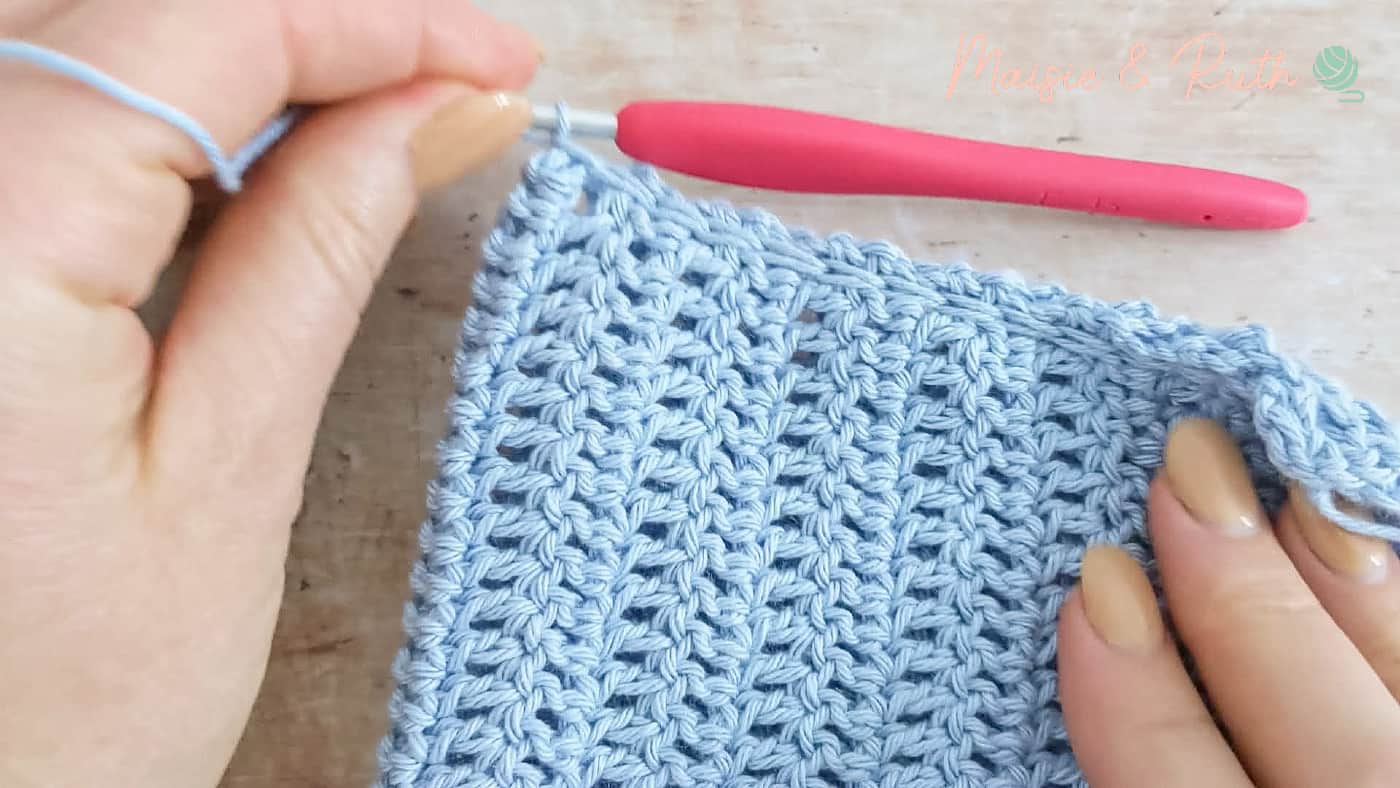
Cut yarn, fasten off and weave in ends.
EDGING AND NECK TIES
Turn your bonnet out so that the right side is now on display and the seam is now on the inside of your bonnet:
You will now start working along the front of the bonnet.
Position your bonnet as seen in the photo below:
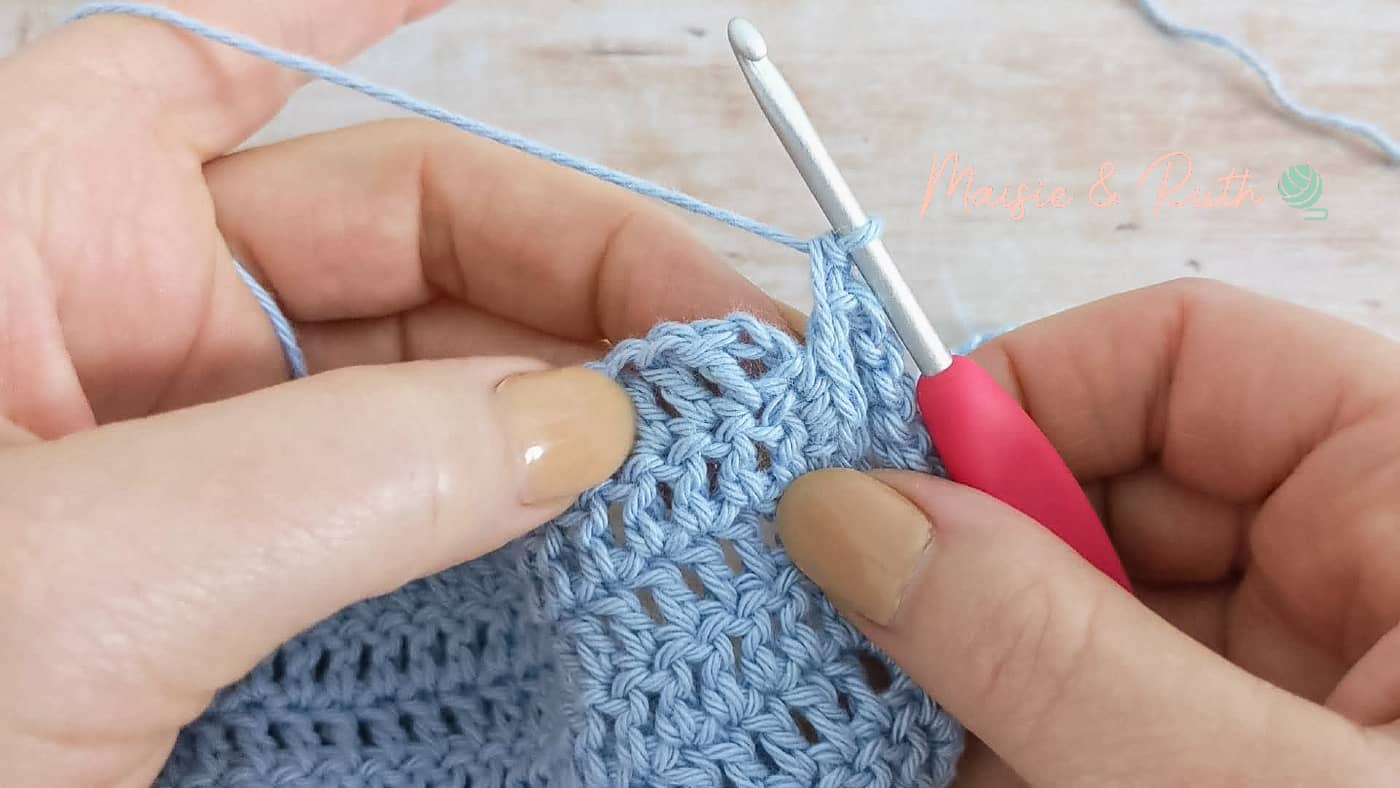
To begin working on the first tie at the front of the bonnet, attach your yarn to the bottom right hand corner:
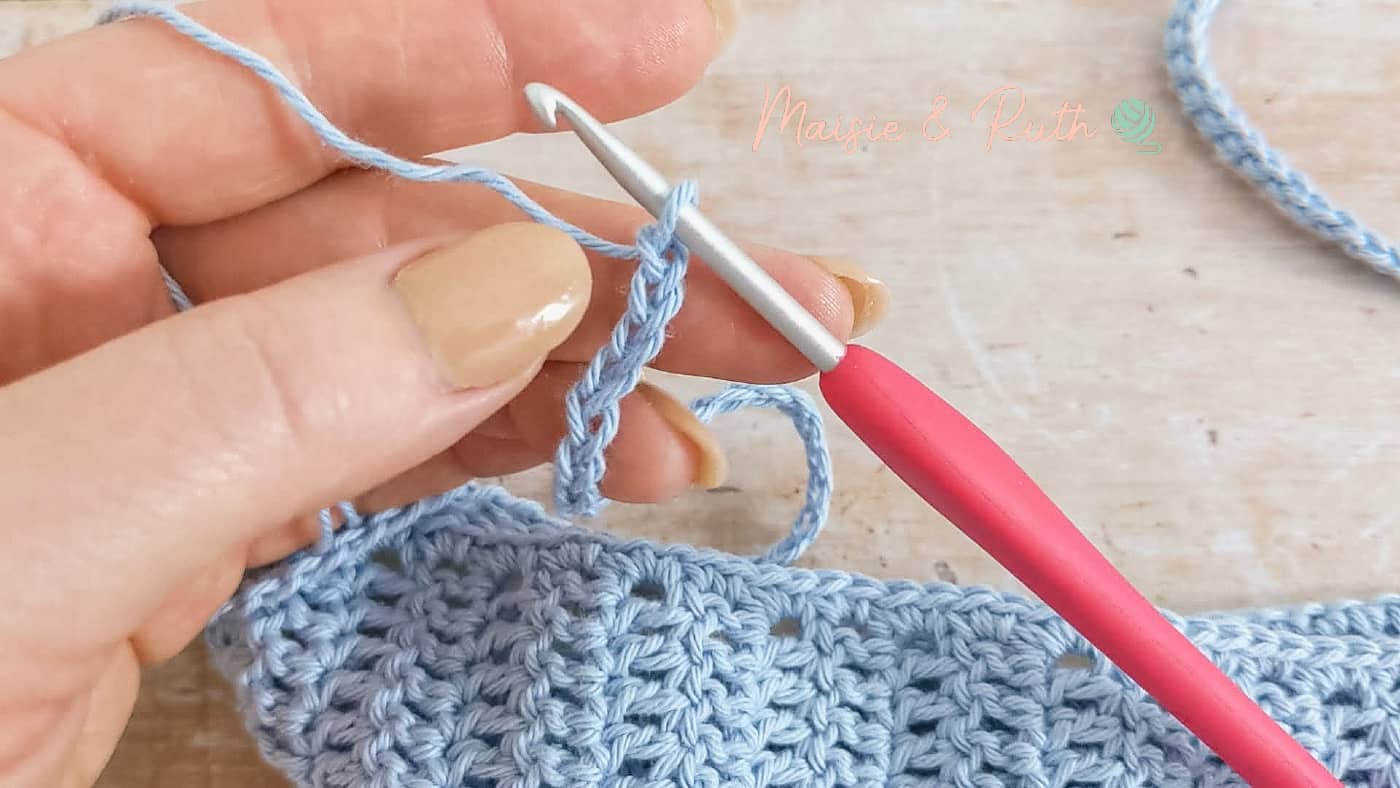
Chain 42:
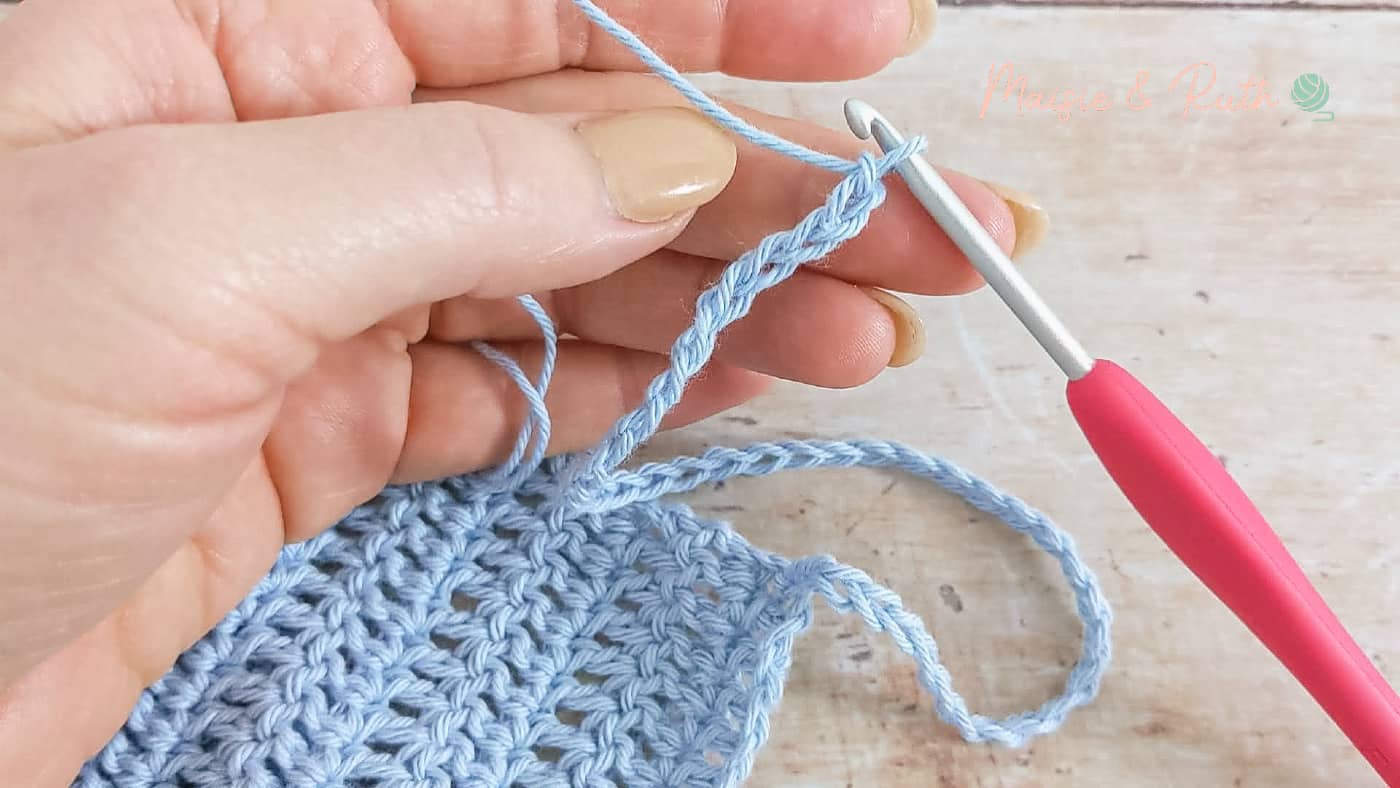
Sl st in the 2nd ch from the hook and in every ch along to the end.
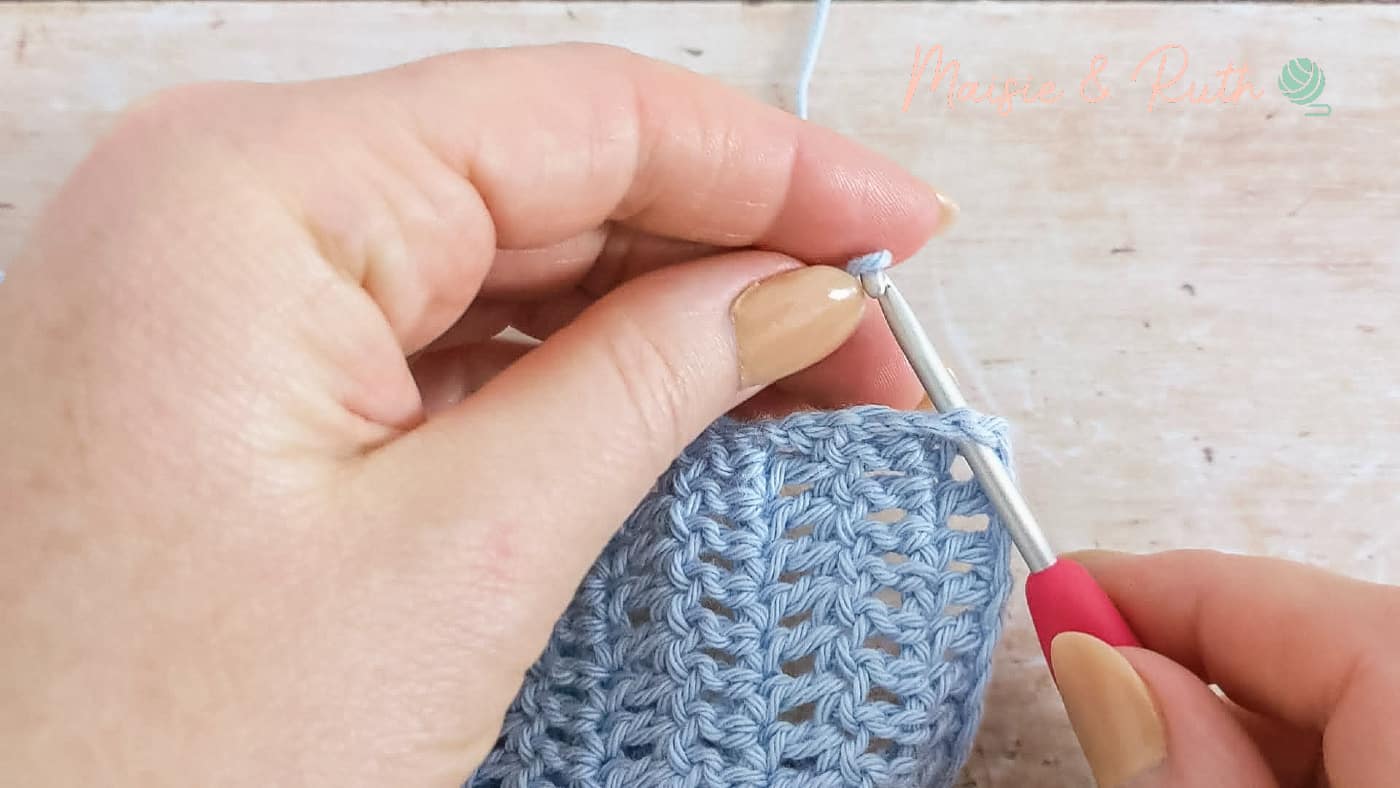
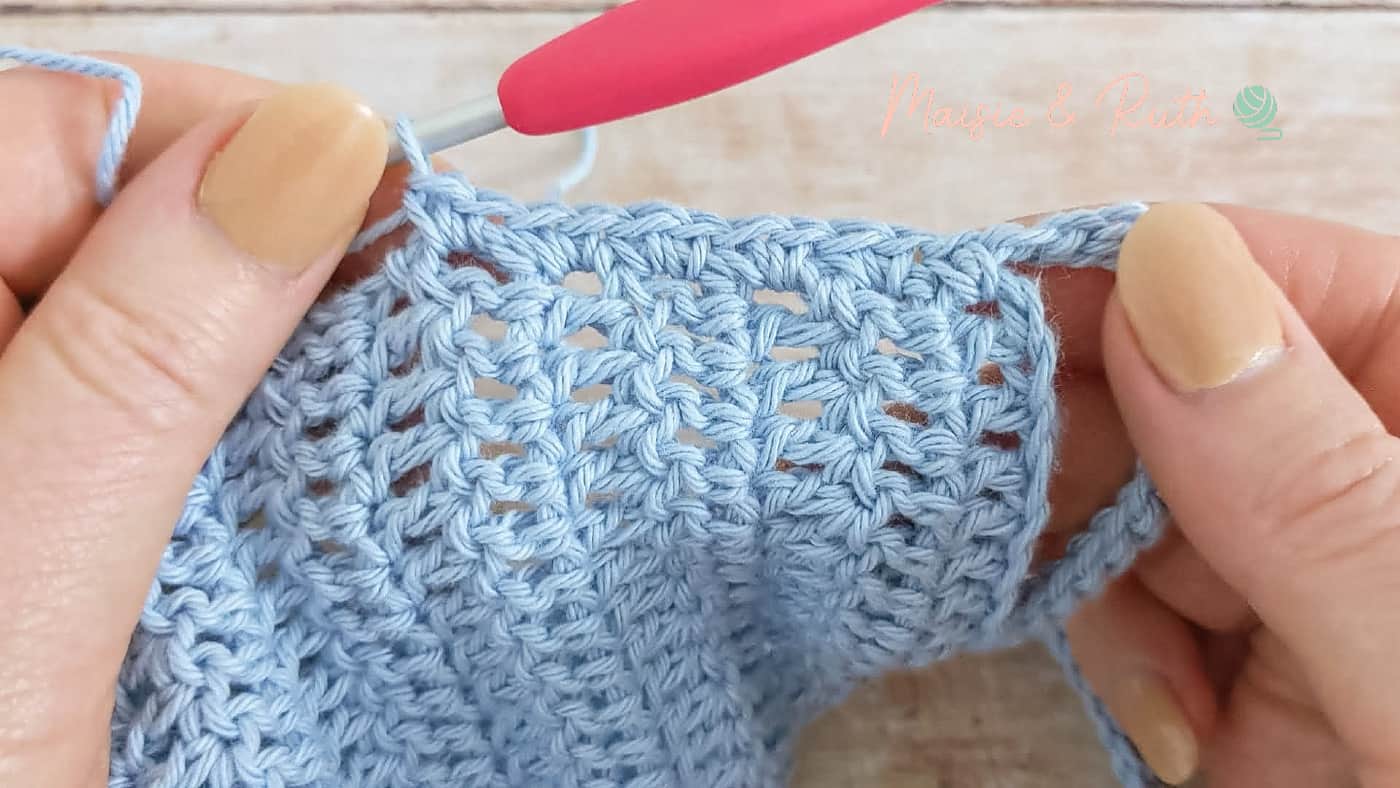
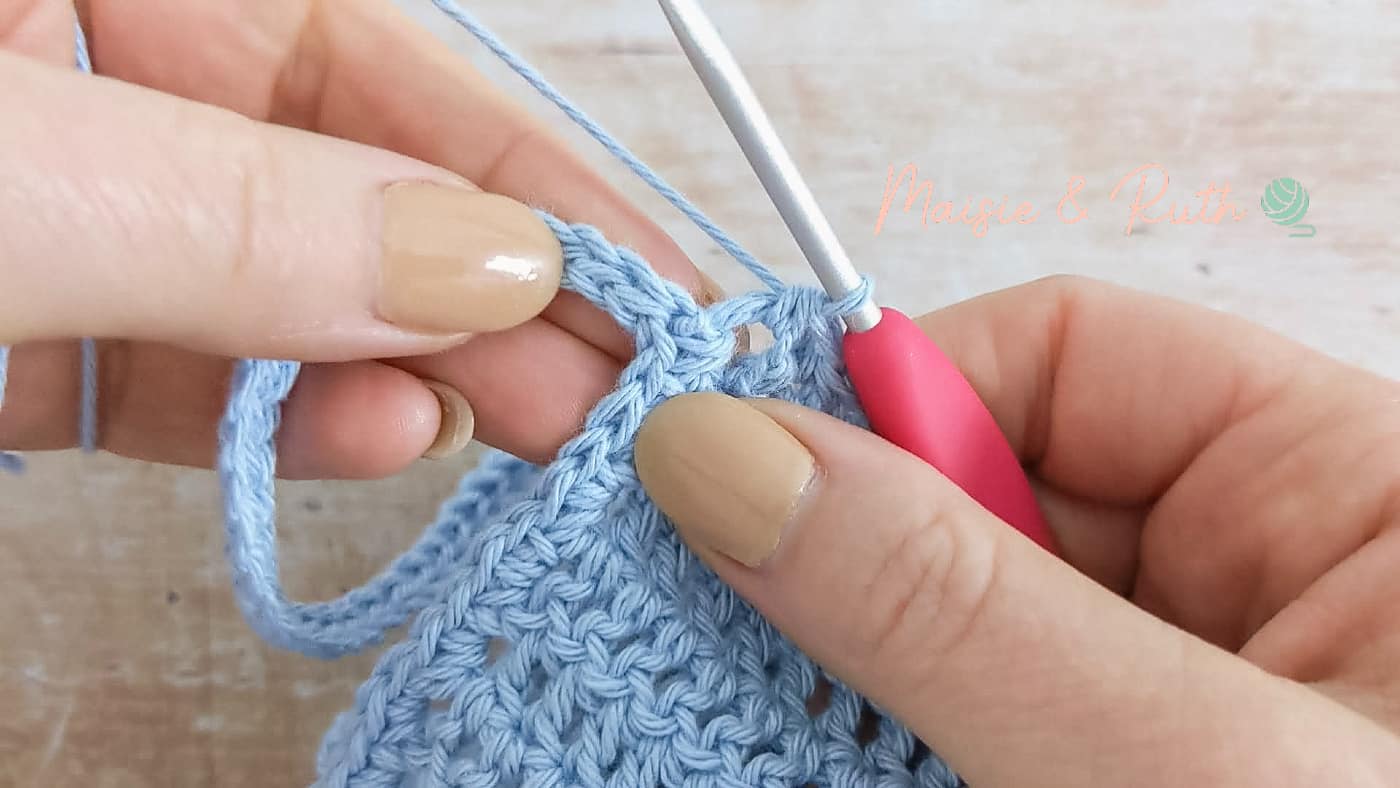
When you get down to the bottom of the first tie, place sc sts evenly along the front edge until you arrive at the left hand corner of the bonnet (I like to work 2sc in each dc row end):
When you reach the other corner at the front of the hat, make your second tie by chaining 42:
Then sl st in the 2nd ch from the hook and in every ch along to the end.
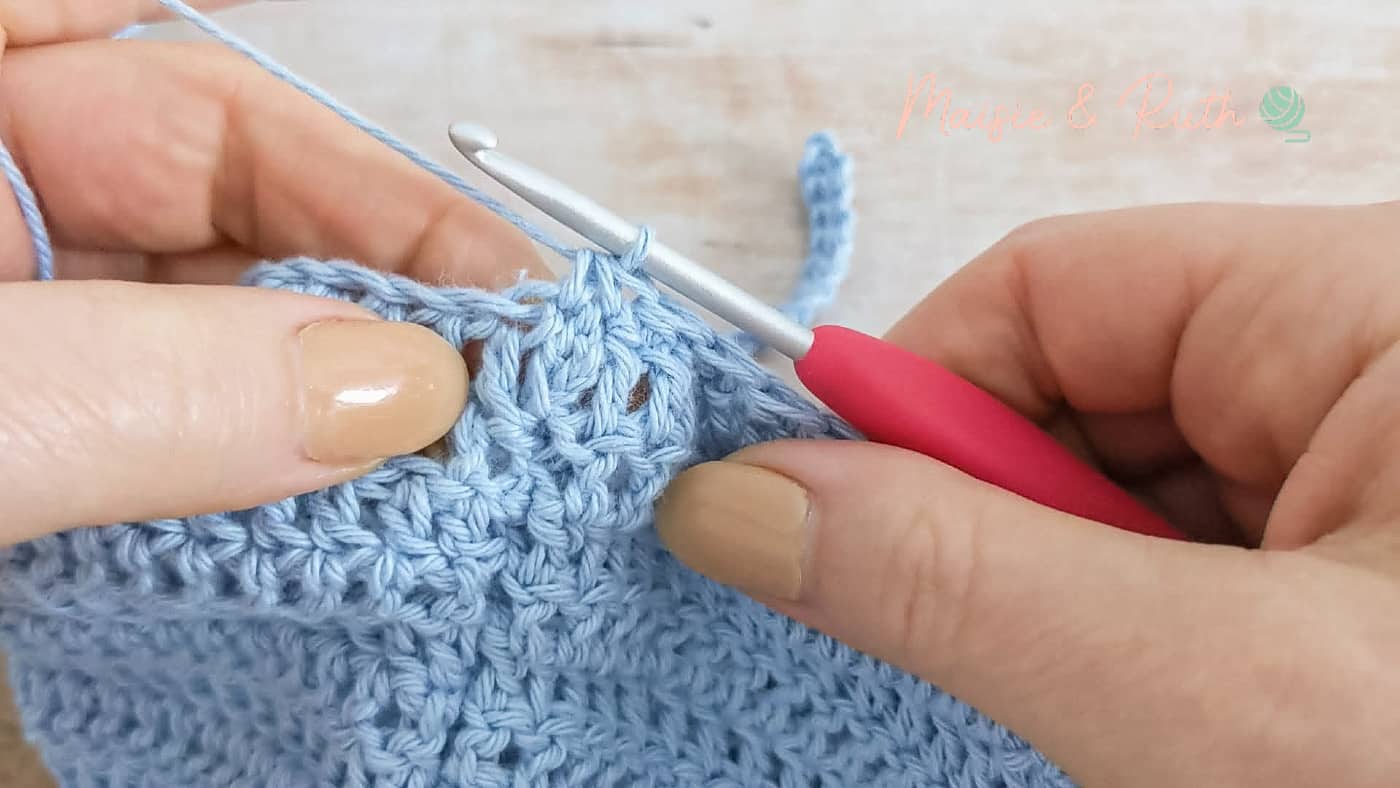
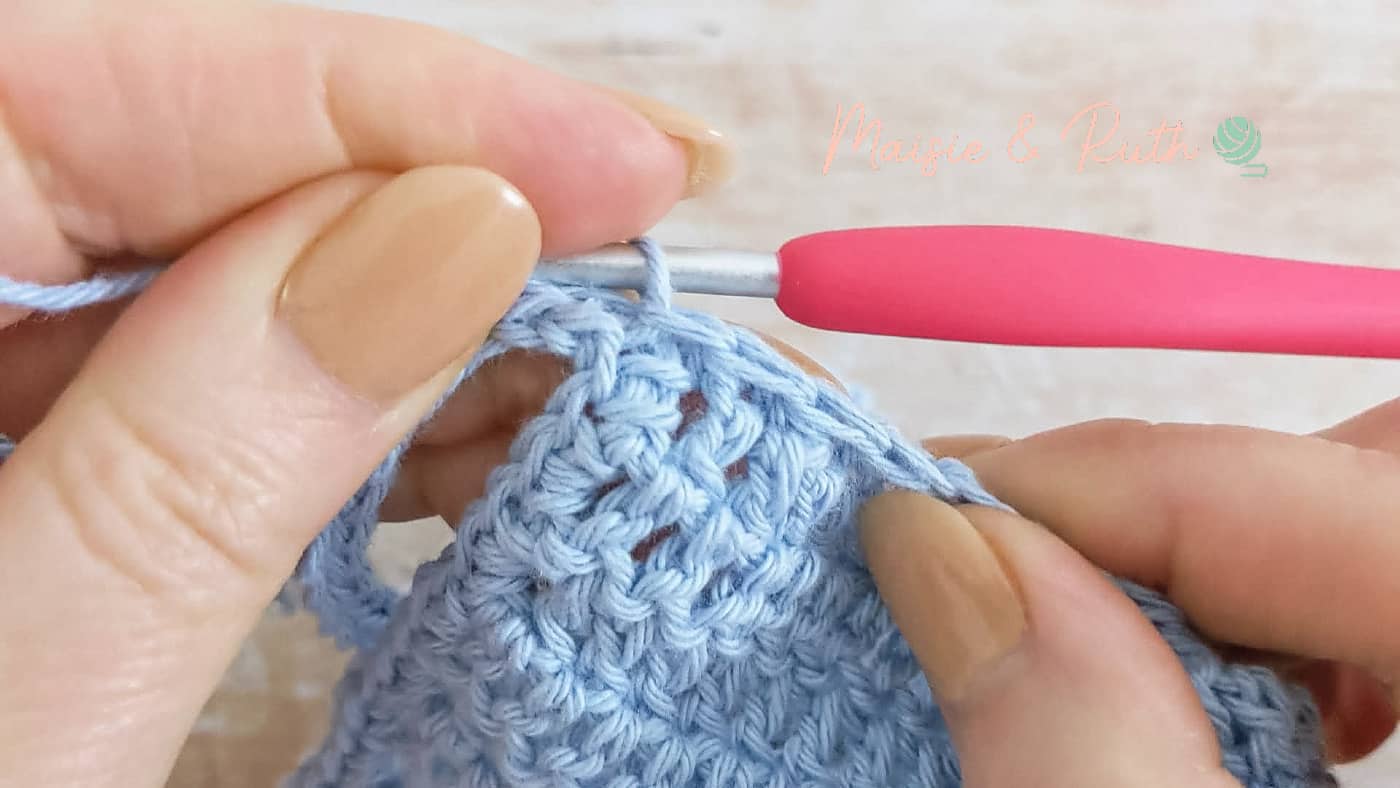
When you arrive back down at the bottom of the second tie, you will shape the back of the bonnet by working sc2tog sts all the way along to the first tie that you made:
To join, sl st to the base of the first tie, fasten off and weave in your ends:
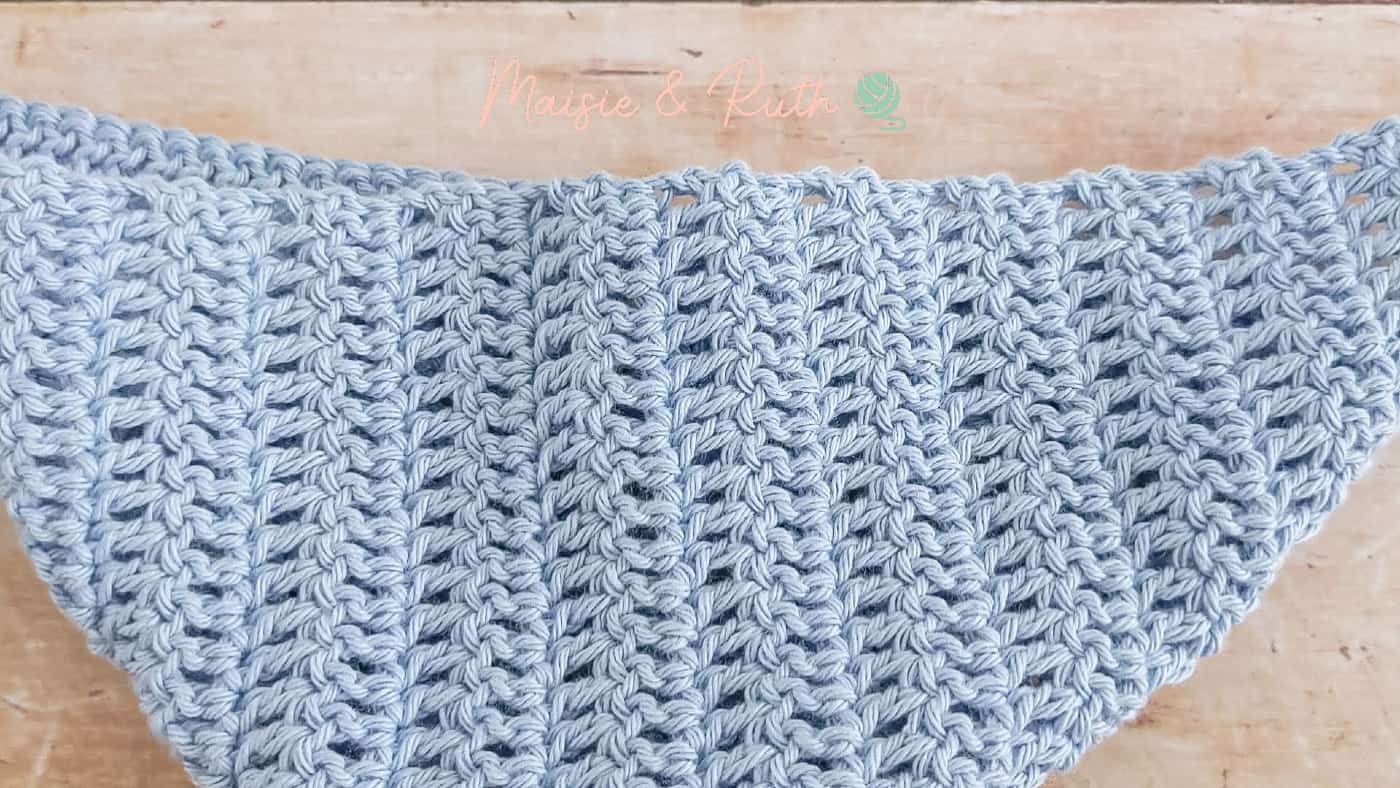
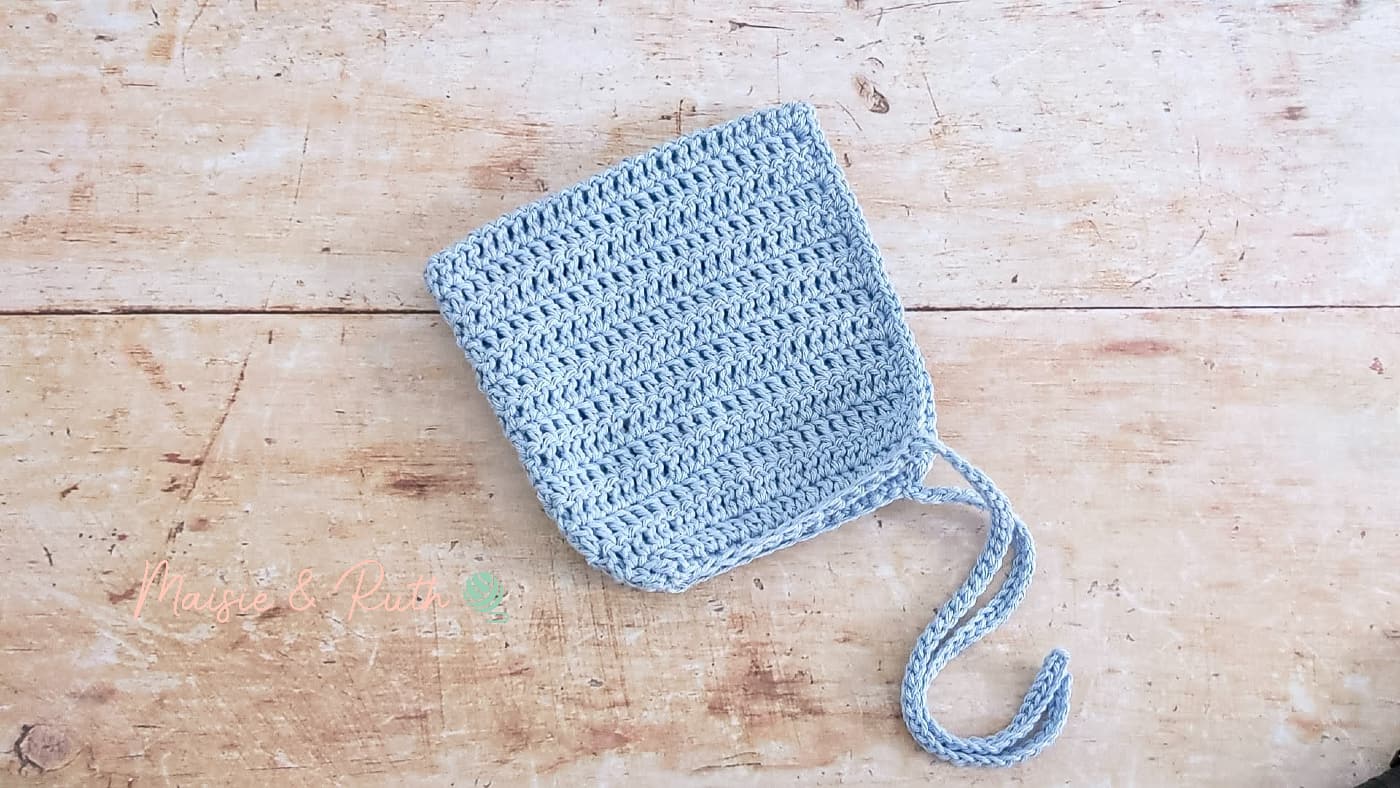
Here's what your little bonnet will look like once the edging and ties have been made:
POM POM
You can leave your little bonnet as it is, or you can add a pom pom to the top corner of the hat and one to the bottom of each tie.
VIDEO TUTORIAL
You can view the video for this easy crochet baby bonnet pattern below.
The tutorial is divided up into chapters, so you can jump to whatever section you need immediately (you'll find this information in the description box of the video).
Don't forget to subscribe to my channel so you don't miss out on any new videos I upload!

PIN IT FOR LATER!
I hope that you enjoyed this easy crochet baby bonnet pattern 😊
Did you make it as part of the teddy bear set? Or maybe you made it just on its own.
Whatever the case, I love to see your finished projects… you can tag me on Instagram using @maisieandruth.
Happy crocheting!

Source: https://maisieandruth.com/easy-crochet-baby-bonnet-pattern-sweet-pixie-hat/
0 Response to "How to Crochet a Easy Bonnet for a Newborn Girl"
Post a Comment